By Alton Chiu –
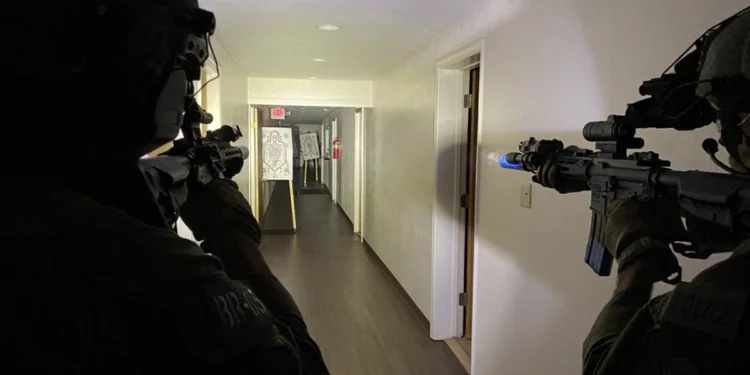
TNVC’s Night Fighter 201 class is not a night vision course. It is a low-light/no-light course. It’s less a technique course and more a technology course. Truth be told, it is less of a course and more of a workshop. Students are free to choose their own adventure, but they must justify their actions, as critical thinking builds competence and confidence. Although there was down time between scenarios, there was no shortage of opportunities to learn by talking to other students and instructors. The nature of such a class is such that students get out of the class what they put in.
“Armed Professional,” as the previous iteration of this class was called, combined close quarters battle with night vision. In that class, students tended to focus on CQB and overlook the technology. In this revamped curriculum, no CQB experience is required and no CQB is taught. Students are delivered to a location in the room by instructors with their eyes closed, then asked to collapse their sector of fire without walking about the room. Positive identification is the primary task with which students explore the limitations of each technology.
We attended the second showing of the revamped and renamed Night Fighter 201 class. Our experience is relayed so future students of the class will be ahead of the curve.
POSITIVE IDENTIFICATION
Positive Identification (PID) is the focus and the task used to explore technology limitations. To classify as threat or unknown, students scan the whole person, then focus on their hands, waistband, the immediate area around them, and finally on their demeanor. Targets are identified through a system that differentiates threats from unknowns. Students then go through the sequence and search for clues. Students could game it by merely playing “Where’s Waldo,” but then they only cheat themselves.
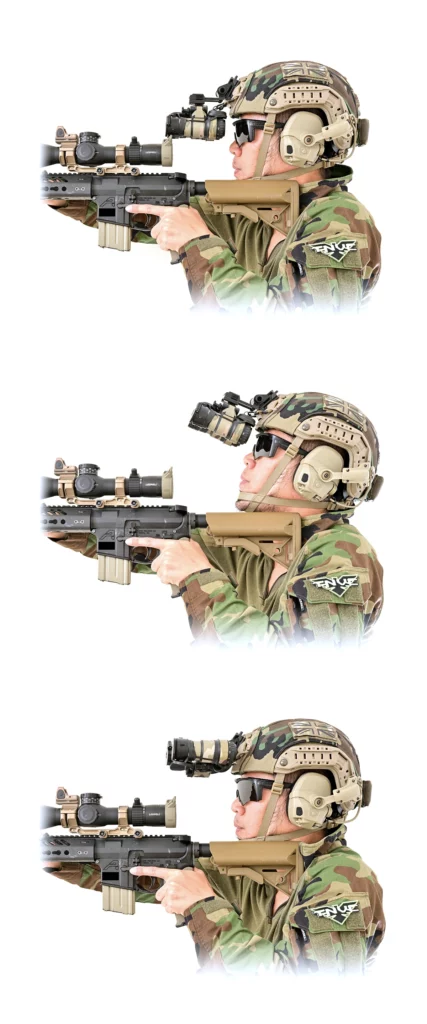
We learned that white light complements monochromatic NVGs by providing color and additional illumination. When certain colors fail to show up with sufficient contrast through NVGs, one can emit white light while looking under the goggles (or articulate one pod up) to use unaided vision for PID (hereafter white light bypass). The naked eye also provides color information such as an orange-tipped airsoft gun or the blue shirt of a hostage. To use white light for more information may be a spur-of-the-moment decision, and equipment must support that. A student using an all-in-one Surefire XVL2 (see Small Arms Defense Journal magazine V13 N2) added a separate white light during class because switching from white to IR cannot be done quickly on this light. This shows how the workshop allows discovery of the limitations of our gear.
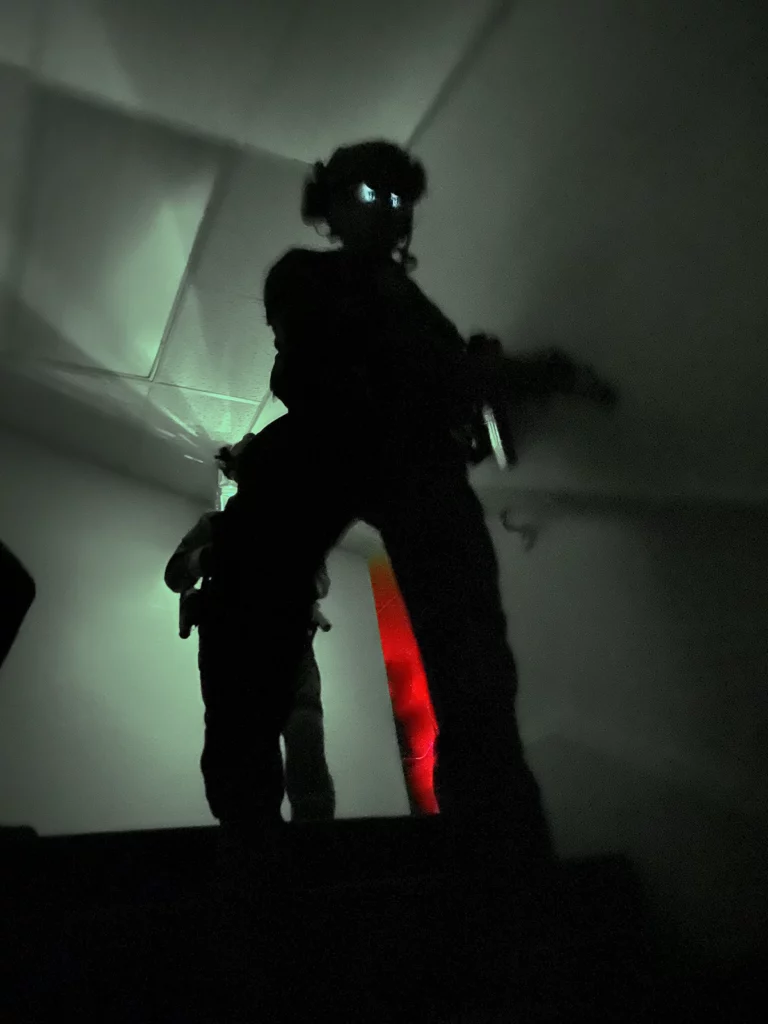
Another lesson learned is that PID happens at close-range, as NVGs are still non-magnified optics. In a demo, students try to PID an approaching instructor. At 50 meters, neither white light and naked eye nor IR illumination under NVGs provided PID. Around 30 meters, eye-safe IR illumination with NVGs granted PID. Around 25 meters, a high candela white light and naked eye afforded PID. NVGs without illumination gave no PID until the instructor reached bad breath distance. Readers should understand these distances as merely illustrative of the close-range nature of PID, and not as cardinal rules.
EXPECTED ENGAGEMENT DISTANCE
Through failure, we learned to preset our equipment for expected engagement distance before taking each unknown space. This includes both NVG focus and IR illumination.
NVGs are single plane focused devices, and are typically set at infinity for outdoor use such that close objects are a blur. For indoor use, one could focus at room distance, but that definition can change between a bedroom and an auditorium. During the 2014 Sydney Lindt Cafe siege, CCTV showed an assaulter stopping to adjust his NVG focus in the midst of an assault. To set up for expected engagement distance is to set up for success.
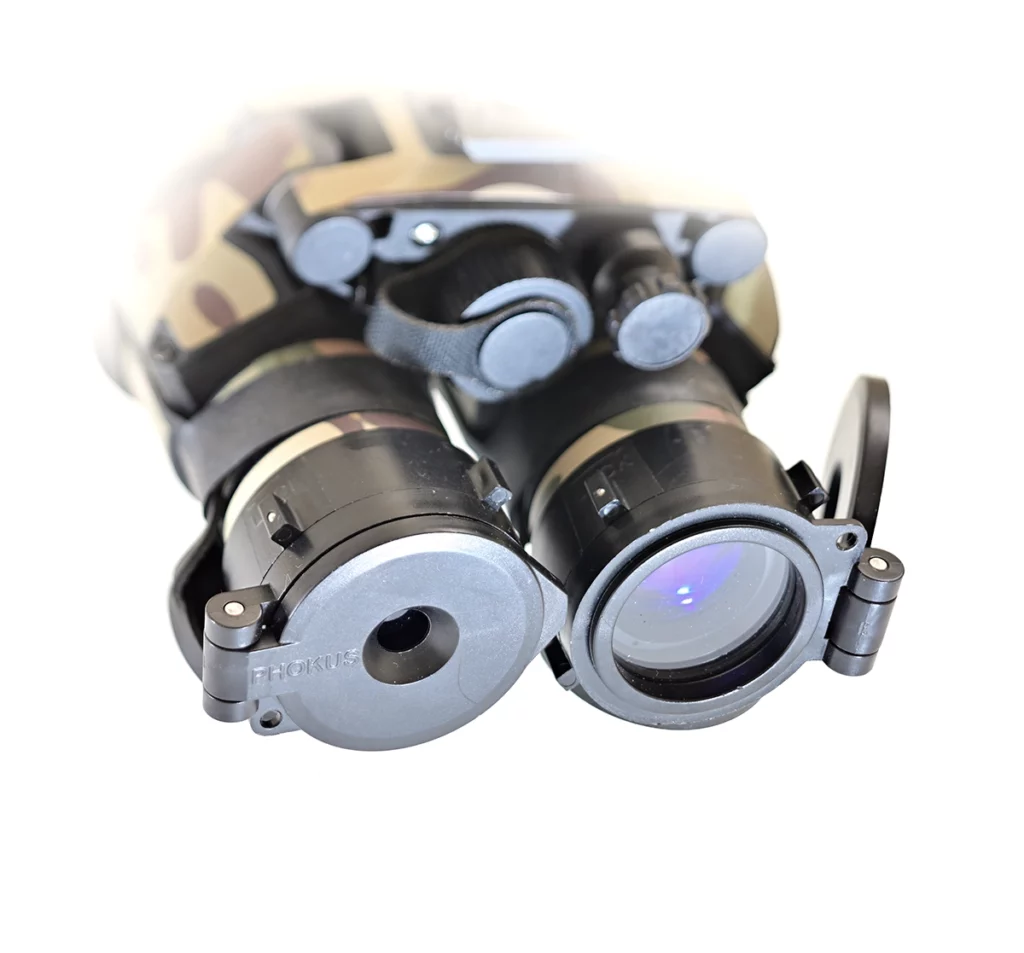
Workarounds include “goofy focus” when using binocular NVGs: one tube is focused far and one focused close. When we used this technique, we didn’t experience any headaches, but bright dots such as IR pointers or distant street lamps have a halo around them because one tube is out of focus. For target designators, this can cause imprecise aiming. There also exist devices such as the Phokus Hoplite and the Tarsier Eclipse to increase depth-of-field at the expense of light gathering. These devices are analogous to stopping down a camera aperture from f/2.8 to f/22 so more of the scene is in focus. We used Hoplites in class and could PID room distance targets even though we left our tubes focused at infinity. The last option is to white light bypass at the expense of pointing out your location to opposing forces.
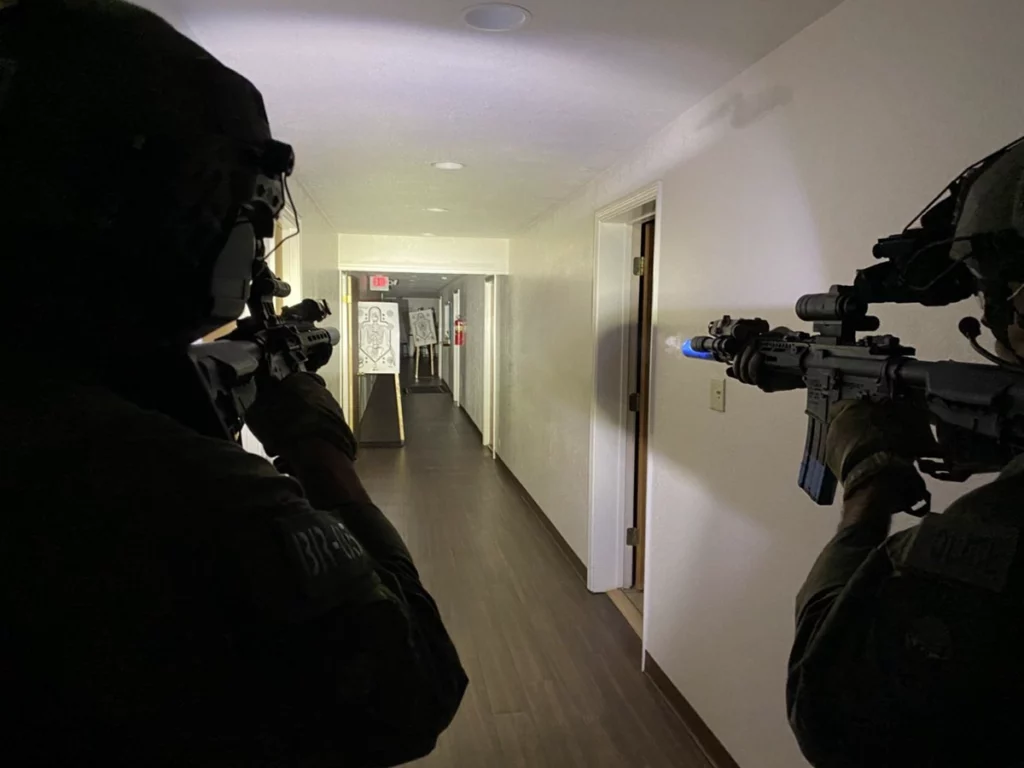
Laser aiming modules (LAMs) must also be preset for success. Pointers set too bright will bloom and cause imprecise aiming; set too low and they will be invisible. Illuminators must also be set for punching through photonic barriers, illuminating a wide area, or throwing energy into a deep dark corner. Most LAMs have a diffuser flip cap to spread the illuminator beam (10 deg or so), into a wide flood beam (40+ deg) for use in typical rooms. We found it faster to process the room with the rifle at low ready and letting the spill illuminate the room, rather than sweeping the beam across everything he wanted to examine. This increased situational awareness and processing speed costs PID range as the dispersed energy cannot reach deep into corners. Hallways and large rooms may require no diffuser to increase throw distance. During a hallway scenario, we left our diffuser on and could not PID targets. We resorted to white light for additional illumination since we could not remove the diffuser on the fly.
LAMs such as the Steiner. Optics DBAL and the L3Harris ATPIAL have a rotary selector to increase power output, but it cannot be ergonomically actuated on the fly. The B.E. Meyers MAWL’s mode switch suffers the same, but its A/B buttons allow effortless illuminator output modification (in some modes). However, note that room entry mode with pointer and illuminator is “short range, B button” while A-button-only emits a pointer. Increasing illuminator power still requires manipulating the mode switch to “mid range.” One should carefully plan out their switchology and vet the choices through exercises.
VALUE OF VISIBLE OVERRIDE
Generally speaking, rifles can be configured for two of the three shooting methods: active (emitting IR pointer and/or illumination), passive (no emission, just aim down sights), or white light (emitting visible illumination). Typical LAM supports active shooting. A weapon light and reflex (or “holographic”) sight set to daylight brightness allows white light shooting. When shooting passive, a red dot in your sight set to daylight-level brightness creates bloom that causes imprecise aim and could even hide the target. Dimming the reticle to NV setting fixes this, but it becomes invisible when using white light. Alas, there is no free lunch.
An optic with an etched reticle allows both passive and white light shooting, but the shooter’s head position is awkward and critical in passive shooting. Since the front objective of NVG effectively replaces the eyeball, one must place that within the optical eyebox of the optic. This requires an increase in length-of-pull (typically six inches) that can degrade rifle handling and accessory activation.
LAMs capable of visible override allow users to shoot with all three methods on the same setup. When paired with a compatible remote switch, LAM emits a visible pointer when white light is fired, even if the mode switch is set to IR. This gives a seamless transition from IR active to white light shooting. The user is still aiming with a pointer, and with roughly the same mechanical offset. There is no need to acquire the reticle. One merely bypasses the NVGs and continues to solve problems. Meanwhile, the optic can be left in NV mode for passive shooting. We found this feature extremely helpful not only in engaging targets, but also in communicating with teammates using the visible spectrum. We could “air lasso” open doors or dead spaces to ask for help, and even conduct common hallway checks (not covered in NF201) without taking his hand off the rifle to switch into LAM mode.
As of writing this story, only the Steiner DBAL-A3, -A4, LA-23, and Wilcox RAID-X provide this feature. The Unity Tactical TAPS DBAL, TAPS NGAL, and Modlite ModButton Lite (dual lead) switches complement the first three LAMs. We’re not aware of switches for the RAID-X.
LIMITATION OF PASSIVE AIMING
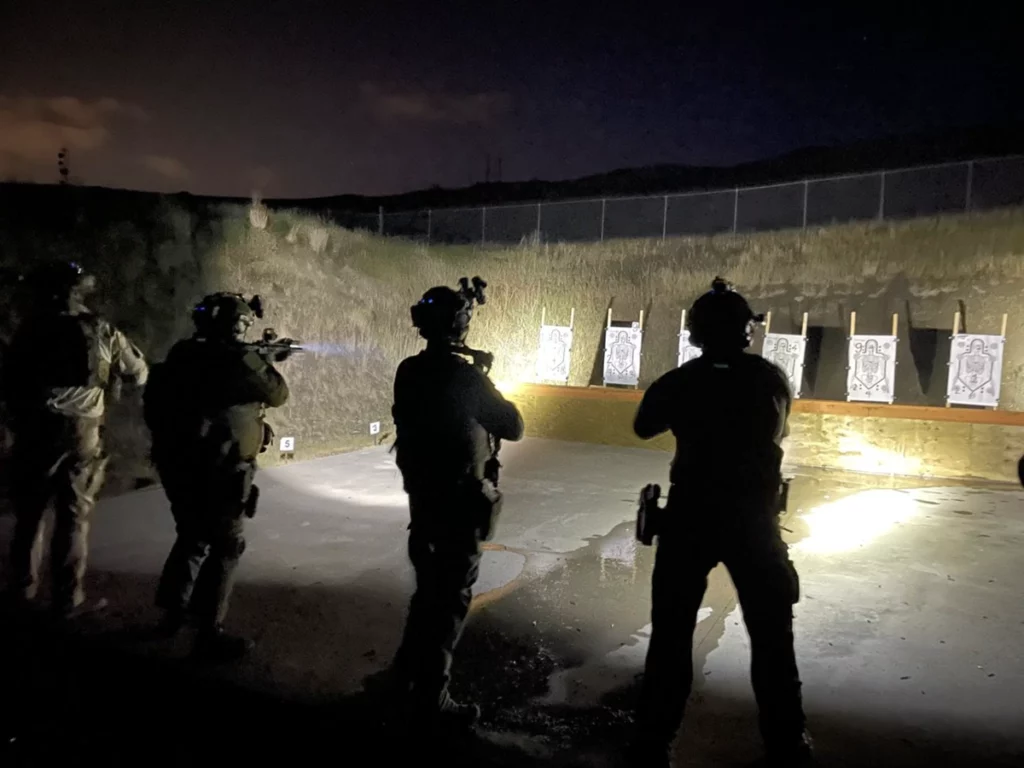
When practicing alone, we got comfortable shooting passive using the NV mode of a Trijicon RMR for a crisp reticle. During team firing exercises, other students used active aiming, and their emissions washed out our aiming dot. The lowest daylight setting must be used, but bloom obscured the low contrast target. To make problems worse, students were shooting from supported positions such that their pointers and our own dot did not move much. We were forced to shake our rifle in order to discern own downrange reticle.
These problems stem from multiple teammates engaging the same target with different aiming methods. Passive aiming works great if no one uses active aiming. If active, multiple stationary pointers can cause confusion. Practice with teammates is needed to discover and mitigate these issues.
CLOSING
Night Fighter 101 (see SADJ Vol. 13 No. 5) introduces technologies and techniques. Night Fighter 201 is a workshop to experiment with those technologies. Limitations are learned and overcome to build confidence and competence.
Each student chooses his own adventure with his own justification. Each inevitably learns different lessons. Author’s own lessons are offered here so prospective students have a leg up. But there is no replacement for learn-by-doing. Author gained valuable lessons and wholeheartedly recommends this workshop to any night fighter serious in his craft.


