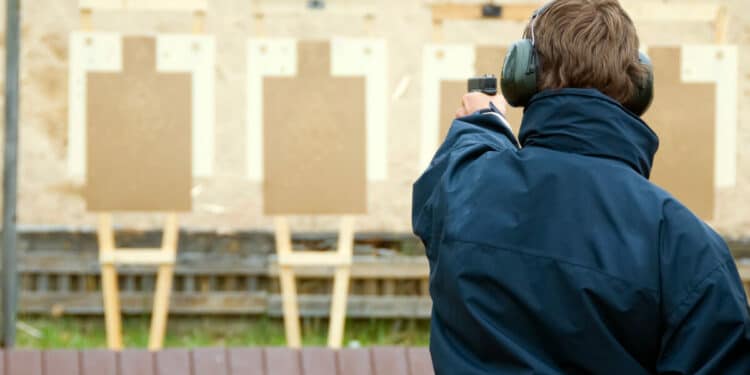
As a competent shooter, you’re surely comfortable running your pistol with both hands. But it’s very possible that circumstances may prevent you from using both hands to control your pistol when involved in a deadly force encounter. Becoming a more capable shooter means learning to shoot one-handed and reinforcing that skill with regular training, as well.
One handed shooting, and, in particular, shooting one-handed with your non-dominant hand — also called support-hand, off-hand, or weak-hand shooting — is an essential but often overlooked skill. It’s also a tricky one to develop.
To help, here’s a series of tips on training to shoot one-handed.
Why Train for One-Handed Shooting?
While using a two-handed grip will provide the most stability, it’s not always practical or even possible in a real-life scenario. Even with a two-handed grip, training each hand alone can improve your shooting.
Here’s a closer look at the benefits of one-handed shooting.
Strength and Dexterity
Shooting with either hand puts your body under lots of pressure. As a result, the more you shoot and learn to manage the recoil, the stronger and more dexterous your hands will become. Using your non-dominant hand ensures you feel those benefits in both hands.
Studies have found a direct correlation between grip strength and accuracy, suggesting training your grip will make you a better shooter. Typically, you don’t concentrate nearly as much on your support hand as your primary hand while training, so isolating it provides strength and grip training you won’t otherwise get. That will translate into better two-hand shooting over time.
Confidence
Training with one hand will also improve your confidence. Changing your routine is one of the best ways to become a better shooter because it helps you apply your skills under different conditions. When you learn to adapt like this, it’ll have a positive mental effect, even if you never have to shoot in that kind of environment.
Shooting is a lot more than just the physical act of pulling the trigger. Your mentality significantly impacts how you shoot, so the more confident you are, the better you’ll likely be. Getting experience shooting in a variety of styles will naturally build that confidence.
The more confident you become, the less you’ll worry about when you’re behind the trigger. You’ll be able to focus on what you need to, becoming a more accurate and responsible shooter.
Safety
Finally, shooting with one hand is a crucial safety measure. If you’re in an emergency, you may be unable to shoot with a two-handed grip. One of your hands could be injured or pinned or you could be in an awkward position where you can’t reasonably use it. Whatever the specifics, you don’t want your life to depend on being able to shoot with one hand.
Shooting with one hand, especially if it’s your support hand, makes you much more likely to miss. In a life-and-death situation, that will endanger you and the lives of those around you. It’s less of a concern when you’re skilled and confident with one-hand shooting techniques.
If you can shoot well with both hands, you can protect yourself and others even with an injured hand. Hopefully, you’ll never be in a situation where you need that skill, but it’s better to have it and not need it than need it and not have it.
One-Hand Shooting Techniques
Now that you know why to train with one hand, you need to learn how. There are two main ways to approach this — straight-arm and canted shooting.
1. Straight-Arm Shooting
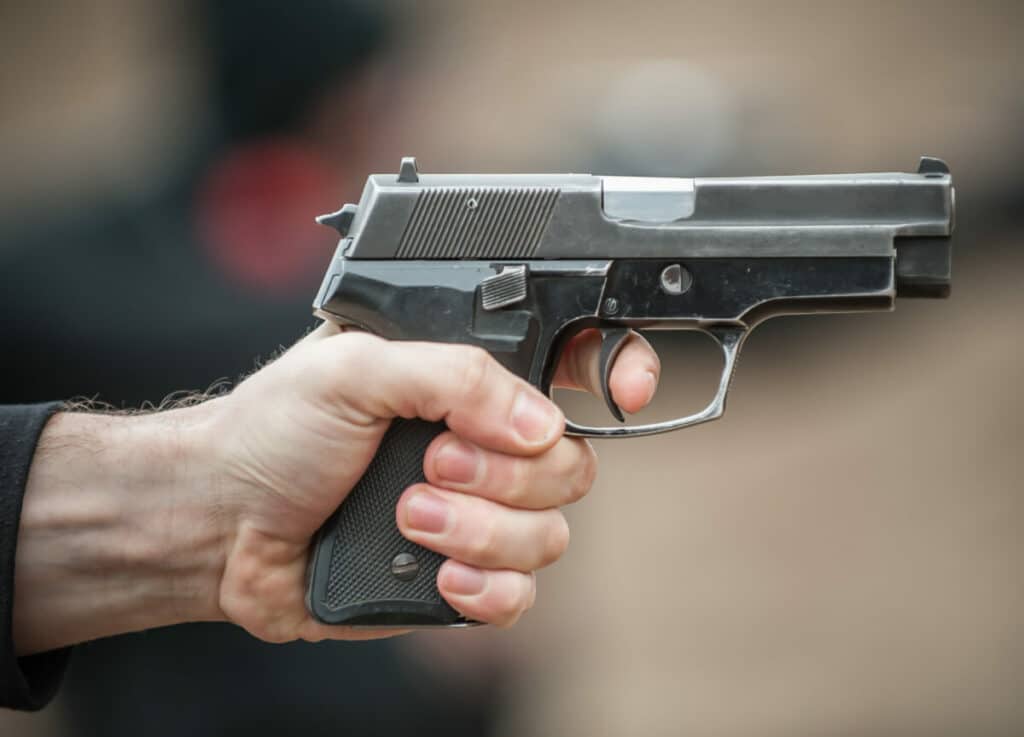
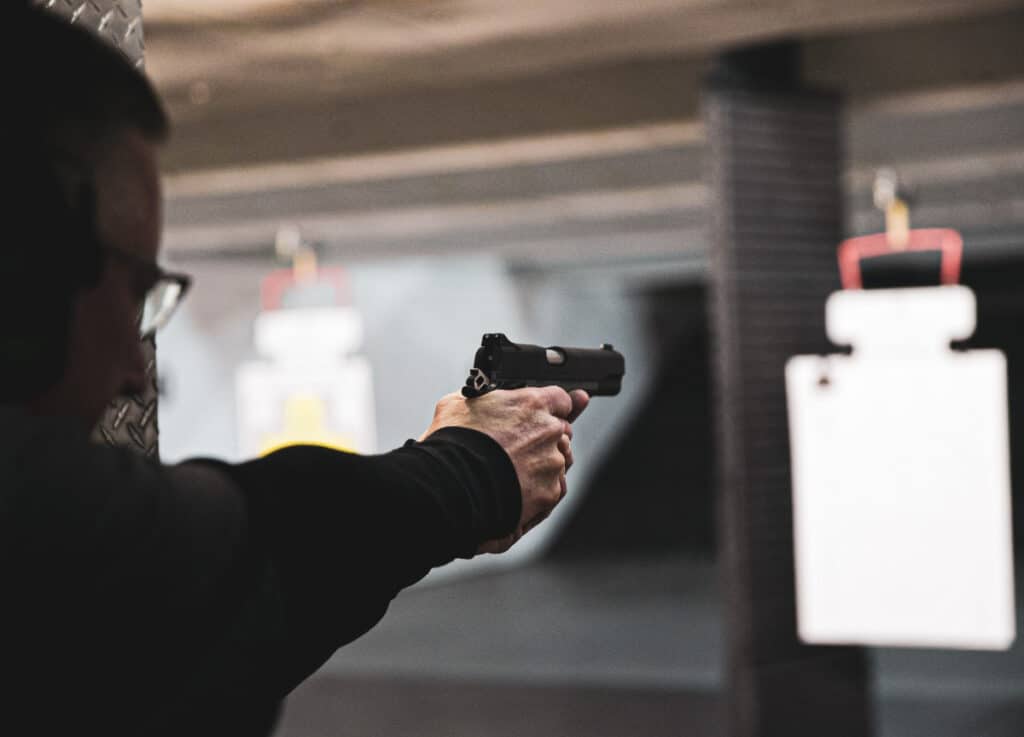
The straight-arm technique is the most familiar for many gun owners. It’s the most traditional form, involving locking your arm at the elbow so it’s straight and your pistol is perpendicular to the ground.
One of the biggest advantages of this technique is it most closely resembles two-handed shooting. Consequently, it may be the most comfortable. Keeping your gun straight up will also help manage recoil, making you more precise. Remember — precision and accuracy are different things, but you need both for safe shooting.
If your everyday carry has a red dot sight, you may find it easier to aim with the straight-arm technique, too. It may take more work to find the dot from a different position.
2. Canted Shooting
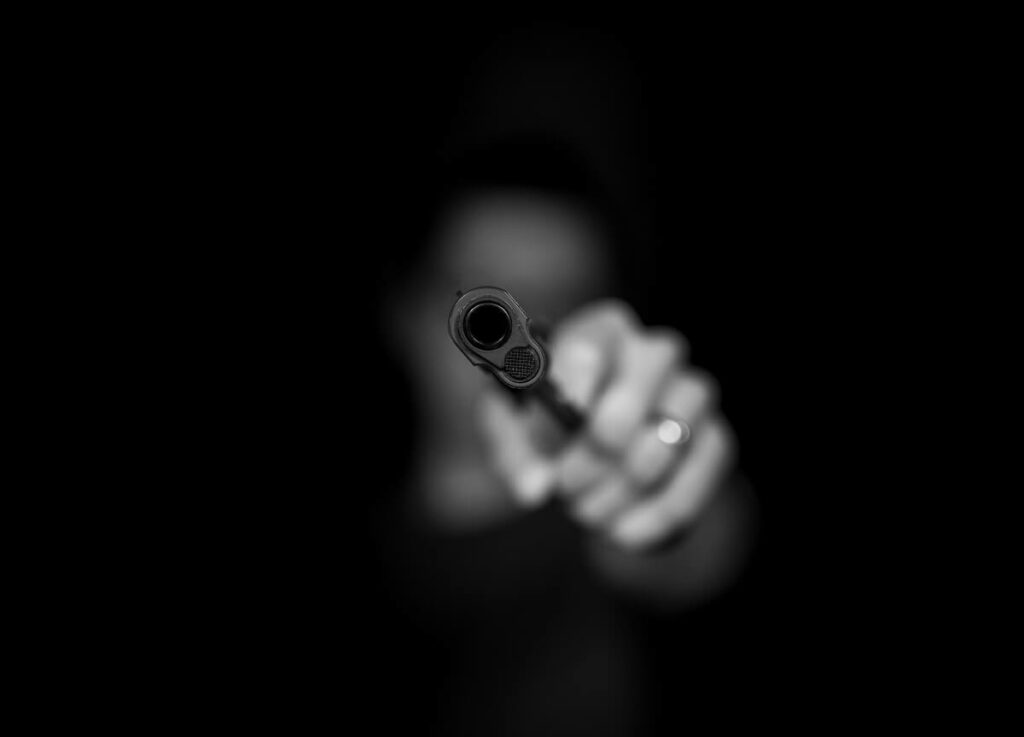
Your other option is canted shooting. As the name suggests, this technique involves leaning your gun slightly. With your shooting arm locked out in front of you, rotate your hand inwards between 10° and 45° to bring the sights in line with your dominant eye.
Turning your gun like this is about more than just looking cool. Some shooters — especially those who like to keep both eyes open — find it easier to aim this way. The position of your arm may also feel more natural, which can help overcome the initial awkwardness if you’re shooting with your off-hand.
When shooting one-handed, your dominant eye may be on a different side than your dominant hand. While just one in 10 people are left-handed, one in three are left-eyed. Check which of your eyes is dominant if you’ve never done so before trying canted shooting.
Which Is Best?
Because it’s best to train for real-life scenarios, you’ll want to practice shooting in the most accurate and precise form possible. However, that varies from person to person. What constitutes the best shooting position depends on what feels most natural to you and works with the habits you’ve already developed.
If you’ve already done a lot of shooting with your dominant hand, you likely have a favorite one-handed technique. Start with that on your non-dominant hand and see how it feels. If you haven’t shot much with just one hand before, try both methods a few times to see which feels the best and produces the best results.
Support Hand Shooting Drills
Of course, your hand’s position is just part of the equation. You’ll need to practice to become an accurate and safe support-hand shooter. Because it’s hard to do anything with your non-dominant hand, that’ll likely entail more than just picking up a gun with your support hand at the range. Here are a few of the best drills to try.
1. Dry Firing
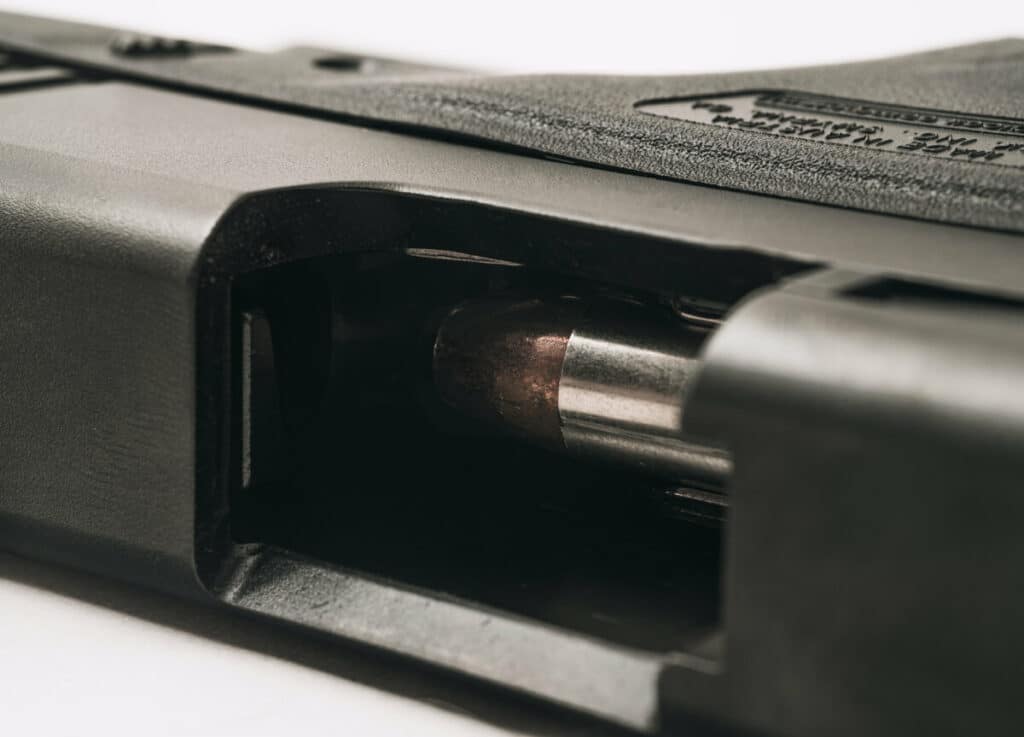
The first drill to practice with is dry firing. Unload your pistol, then aim and pull the trigger just as you would with live ammo. While this won’t gauge your accuracy, going through these motions without actually firing any rounds is a safe way to get comfortable with your off-hand and build muscle memory.
While dry firing is almost identical to regular shooting in practice, it does feel different. Check out SIG Sauer’s guide to dry firing for video demonstrations and technique tips to make the most of these drills.
On average, it takes 66 days to form a new habit, so it’ll take some repetition before this movement feels natural. Stick with it and focus on good form over speed.
2. Straining Your Dominant Hand
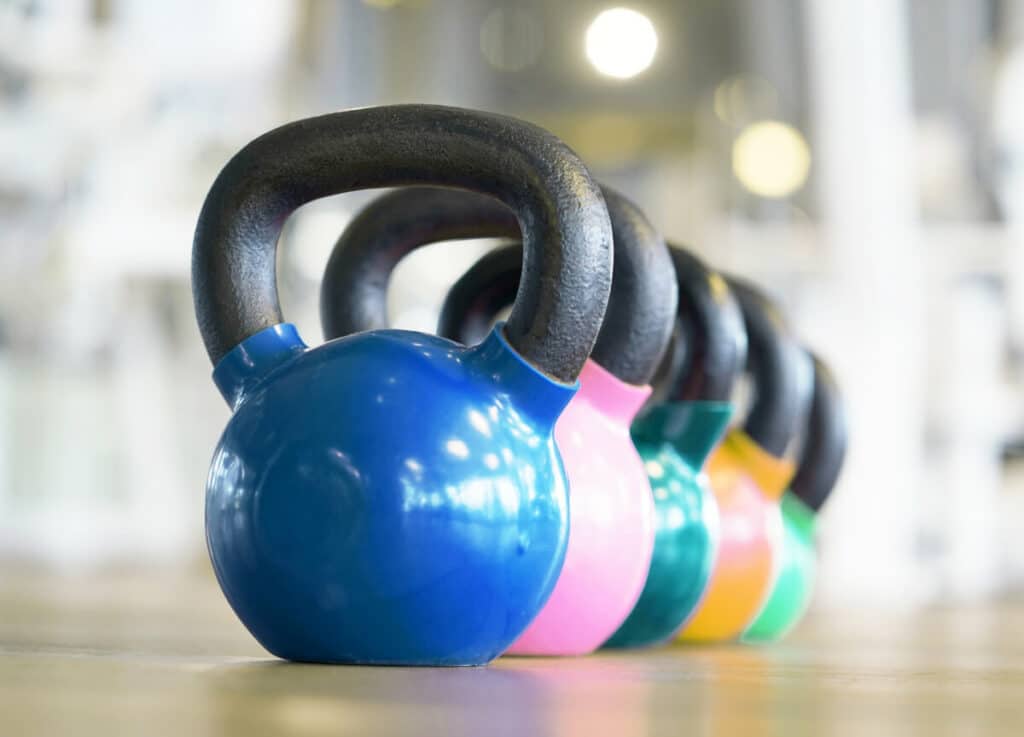
Once you get more comfortable with your dominant hand, you can try some other drills. One of the best ways to challenge yourself and prepare for a real-life emergency is to strain your unused hand by holding something heavy. This practice will help you get used to not depending on your off side and firing under the strain like you’d have to if you were injured.
The weight you hold should be moderately heavy for one hand but nothing crazy. Many people use a gallon water jug — a light kettlebell could also work. Try holding it in different positions to strain that arm in different ways, then take your time lining up the shot.
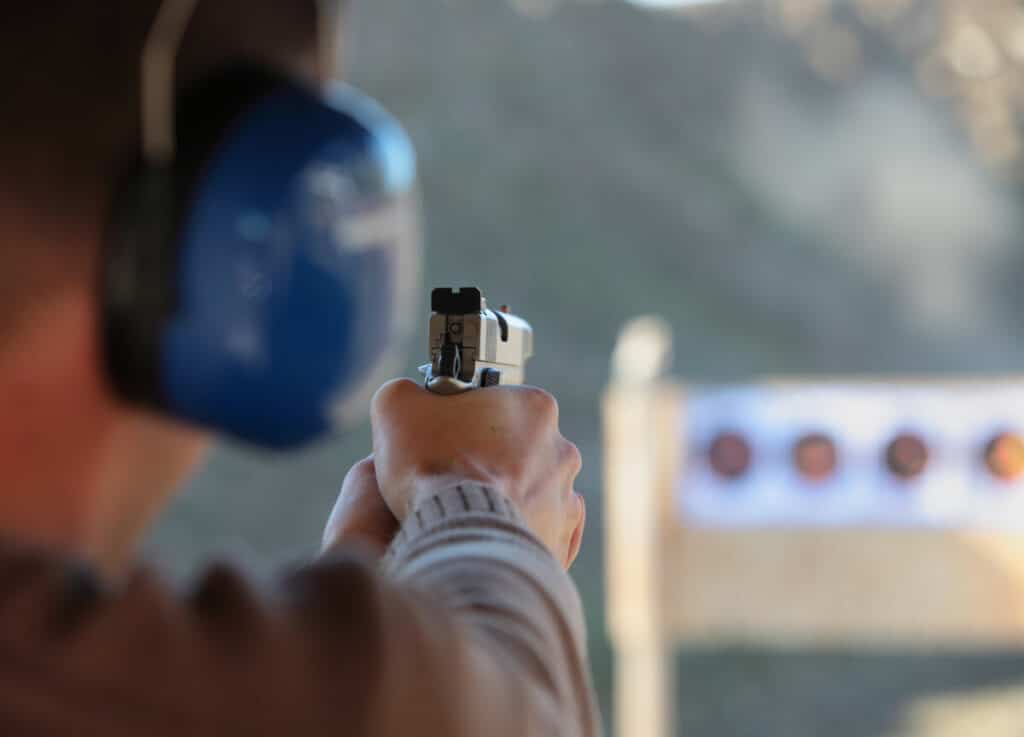
3. Dot Torture
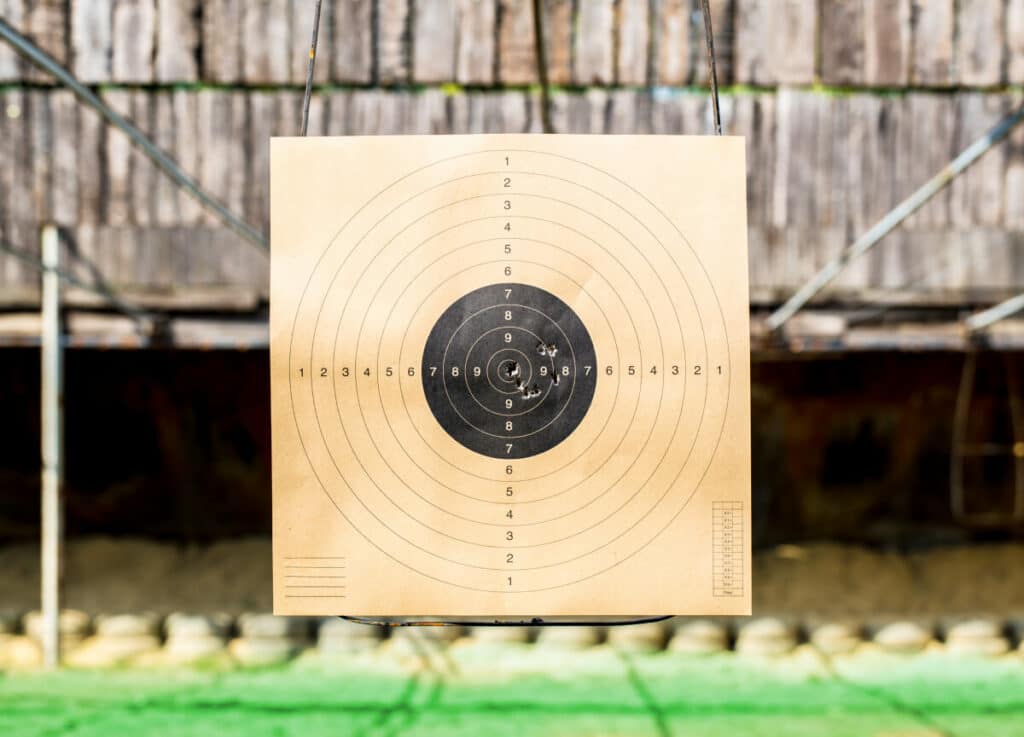
One more common drill you may find helpful is dot torture. In this drill, you’ll shoot at 10 2-inch circular targets on a sheet like this one, going through 50 rounds and various techniques.
When working on your dominant hand, you can hit the ground running and work from the holster. When training your support hand, you can start with the pistol drawn to get things going, but you’ll want to incorporate a support-side draw technique that’s outlined below as soon as you’re comfortable adding it to your training regime.
As you work through the dots, you’ll shoot, holster, re-draw, shoot from the ready position, switch hands, and go back and forth between dots. It’s a long and challenging drill, but that’s what makes it excellent practice. The main downside to this drill is it uses a lot of ammo, so stay focused and get the most out of this expensive drill.
4. Switch Hitting
Switch hitting is another great drill to practice one-handed shooting. Get two small targets — like 3×5-inch index cards — and set them up three feet in front of you, roughly a foot apart from each other. You’ll then shoot the one on the right with your right hand and the one on your left with your left hand.
The goal is to be able to hit both targets in 10 seconds. If you can do that, move the targets back and try again. You should learn to shoot quickly and accurately with your support hand as you progress, with your dominant hand acting like a control group to measure your success against.
5. Draw and Engage
A similar drill you can try is draw and engage. Like switch hitting, this involves shooting at two targets using one hand at a time. Unlike switch hitting, though, you’ll shoot at both with each hand, practicing aiming at multiple targets in quick succession.
Start by getting two fairly large targets and set them up 10 yards in front of you and a yard apart from each other. Draw with your dominant hand and fire two shots into each target within 10 seconds, taking your time to aim carefully. Then do it with your left hand. If you can hit both accurately with both hands, move the targets back further.
Other Factors to Consider
Practicing these drills should help you build the core skills and agility you need to shoot confidently with one hand. However, there are a few other things than just shooting to keep in mind, too.
1. Drawing and Holstering
If you’re in a real emergency, your gun won’t likely be sitting neatly on the table in front of you. You’ll also have to draw and eventually holster your pistol, which can be tricky in your non-dominant hand.
To draw one-handed, start by pulling up your shirt or other garment that’s concealing your holster. If you’re using your strong hand and either a strong-sided holster or appendix carry, pull the firearm out as you would with two hands.
If your holster is on your strong side and you need to grasp it with your weak hand, grab the grip upside-down so that your thumb is by the magazine of an automatic. Pull your gun out of its holster and bring it grip-up to the center of your body.
Press the back of the grip into your body to use your chest to roll the gun one-handed across your body so you can grasp it normally. Make sure the muzzle points away from you and towards the ground the entire time.
You may find it easier to squat and place your pistol grip-up between your knees. From there, you can grab it with a normal grip, stand up and acquire your target.
Drills like dot torture and switch hitting will help you practice drawing and holstering with your non-dominant hand. You can also just practice these motions without firing. Regardless of how you approach it, practice with an unloaded gun first. Unintentional firearm injuries send 27,000 people to emergency rooms annually, so get the motions down before trying them with a loaded gun.
2. Reloading
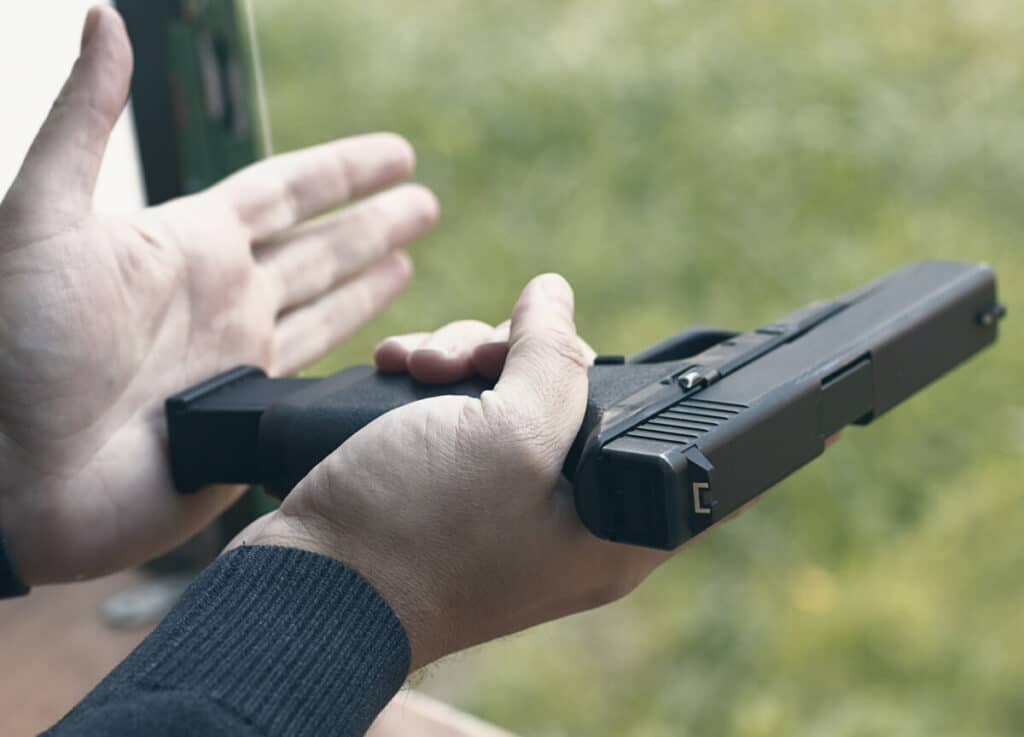
Similarly, you should practice reloading with your gun with one hand. This technique involves working with your pistol held between your knees. Mastering one-handed reloads may take as much practice, or perhaps more, as learning to shoot accurately with a single hand.
When you’ve fired your last round, press the magazine release to drop it, then bend slightly at your knees, keeping your feet together. Place your pistol grip-up between your knees. Grab a fresh mag, slide it in the magazine well and slap its base to ensure it locks into place.
From there, you have a couple of options for how to rack the slide, but both start with grabbing your pistol with a firing grip. One of the fastest methods is to keep your knees together and press the slide hard against your legs to rack it by sliding your gun forward. Alternatively, you can take it from your knees and hook the rear sight onto your belt or pants pocket to rack it. Once loaded, stand back into a firing stance and acquire your target.
Given how awkward these techniques are, practice with dummy rounds until you get the hang of it.
3. Building Strength in Your Non-Dominant Hand
As the name “weak hand” suggests, your dominant hand is typically stronger than your non-dominant one, which can affect your shooting. Better grip strength will help you control recoil, so you should engage in strength training for your support hand on top of training it at the range.
Simple exercises like using a grip trainer or doing farmer’s carries in your non-dominant hand can help. You’ll build some grip strength just by shooting, too.
Mental Drills for Your Non-Dominant Hand
Learning to use your non-dominant hand is just as much mental as it is physical. Consequently, doing some simple cognitive exercises involving your support hand can help your drills feel more natural.
Try writing your name and drawing various shapes with your non-dominant hand throughout the day. While this seems simple, it engages the parts of your brain involved in that hand’s fine motor skills, which can help drawing, shooting and reloading with your off hand.
Start Shooting with Your Non-Dominant Hand Today
One-handed and support-hand-only shooting are crucial skills to build as a responsible gun owner. The sooner you get started, the quicker you’ll be able to get the skills you need in an emergency.


