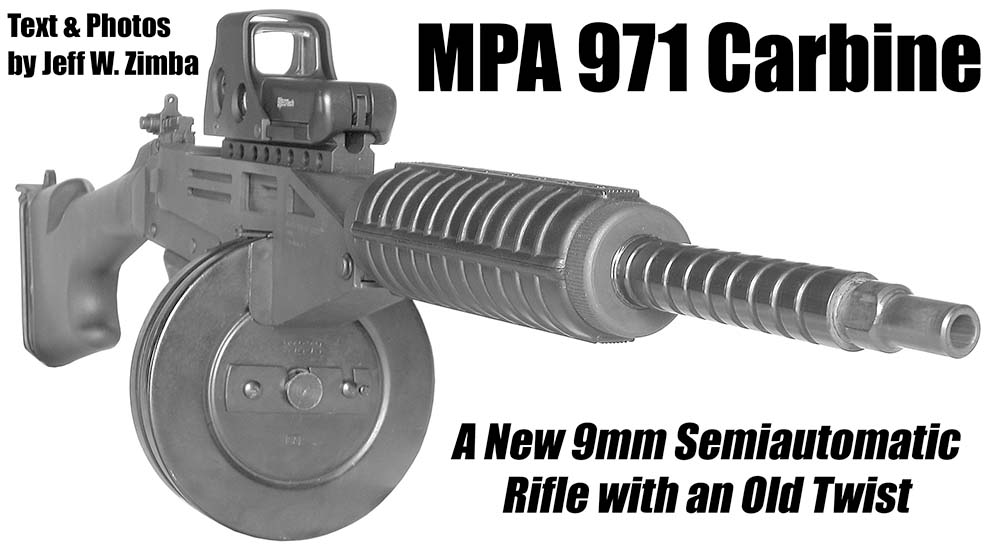
By Cain M. Grocox
Many NFA owners are avid shooters as well as collectors. If they shoot their guns on a regular basis, they soon begin to tinker and modify their weapons while some even dream of building their own. After the 1986 FOPA, which included the infamous Hughes Amendment, building a new full auto cannot be done as an individual, but other items can still be made.
With the ever increasing prices on many of the NFA world’s most sought after items, there is a market that is increasing in size. This market is the semiautomatic versions of the original full auto weapons. An individual can purchase a semi auto version of the AK, 1919A4, MG34, and M16 to name a few. For those individuals that like to work with their hands, there is the option of building a semi auto version of the Vickers HMG.
In 1999, Curtis Debord with American Delta Arms received BATF approval to manufacture a semi auto version of the Vickers. The needed modifications included the right side plate, action arms, the lock, and of course the firing linkage. Several of these semi auto versions were made and still command a decent price when they become available. However, production of this model stopped several years ago. Enter the homebuilder.
Lonnie Ingram had wanted a semi Vickers for quite some time. After having a chance to examine several of them, he set out to build his own semi auto. He studied the BATF approval letter that clearly states the components that must be modified. He now offers the semi Vickers conversion set complete with instructions and parts.
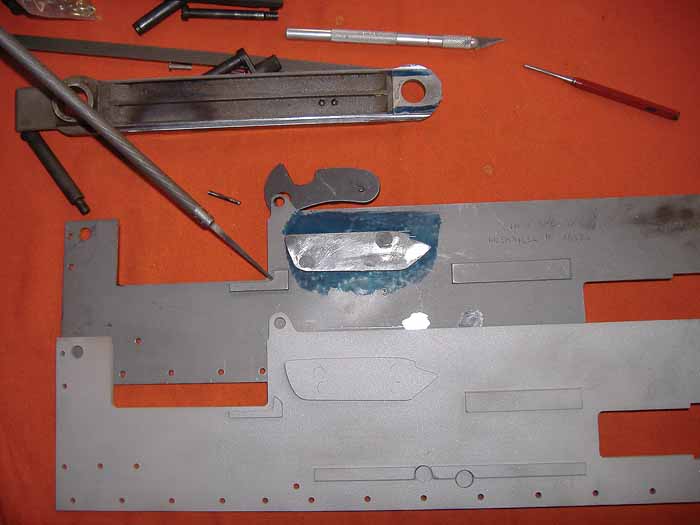
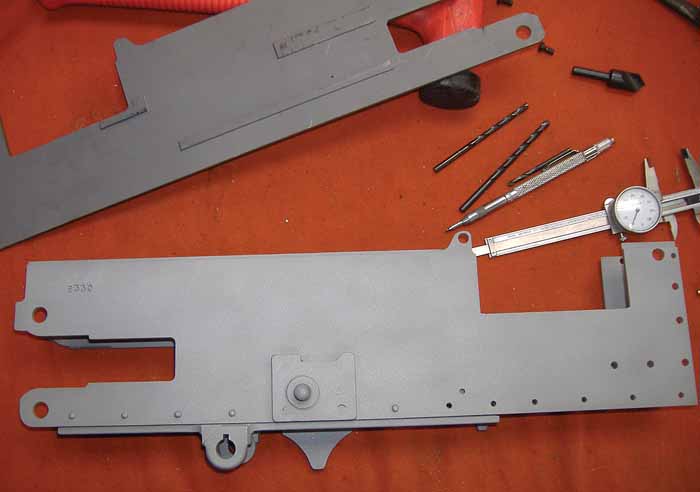
Once a Vickers kit is located, make a complete inventory of the contents to ensure that all parts are included but the right side plate. On a Vickers, the right side plate is considered the firearm by BATF and will not be found in any of the Vickers kits on the market. The builder should use the left side plate that comes in the Vickers kit as a basis for building and locating the holes in the right side plate. It is important to note the denial islands that must be incorporated into the semi right plate to prevent unmodified action arms or locks being inserted into the weapon. Clearance cuts will need to be made on the right action arm to match the denial islands. In addition, the slots in the top of the arms that allow the lock to be inserted are also welded, moved, and then relocated. These changes will need to match the changes made to the bottom of the lock. These modifications ensure that an unmodified full auto lock and action arms cannot be inserted into the semi auto version of the weapon. With the action arms complete, the rest of the lock modifications can be performed.
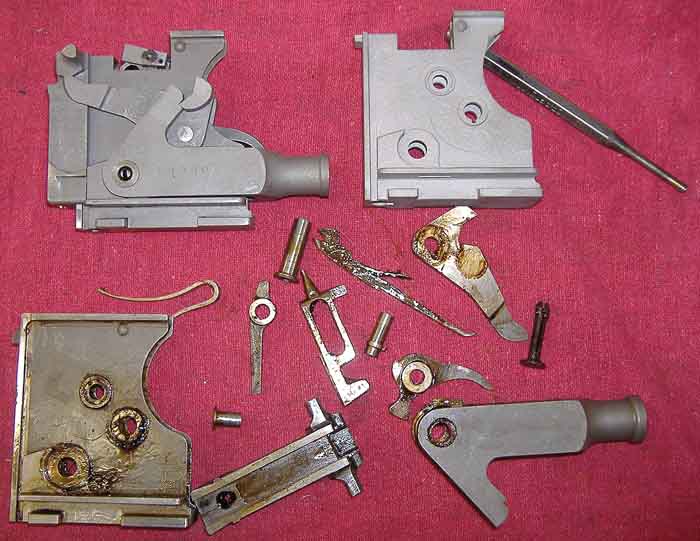
The lock body is altered to allow for the installation of the new firing linkage. The firing pin, trigger, and main spring are altered as well. In addition, a landing pad will need to be built for the disconnector spring assembly. With the lock modifications now complete, the cams can be fitted and installed.
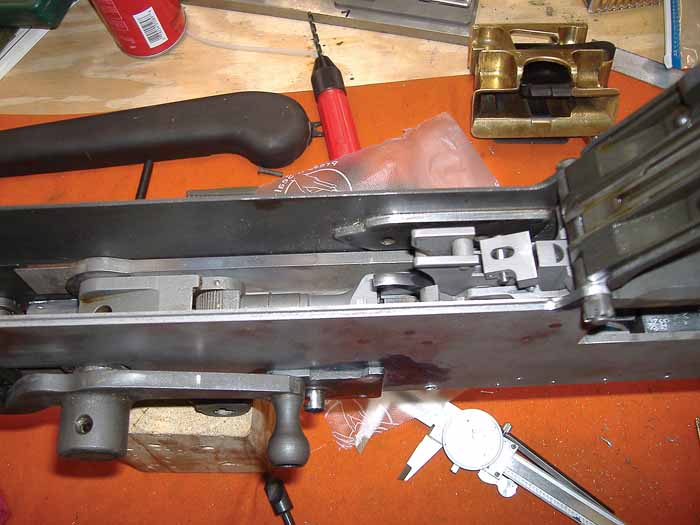
The receiver box is now ready to install the action arms and lock. Simple pop rivets were used to hold the box together while doing the cam install and fitting. The goal is to verify that all the parts move freely. The cuts must now be made to allow the disconnector/denial plate to be inserted. After final fitting and test firing, this plate will be TIG welded into place. The receiver box is now ready to assemble to the trunnion.
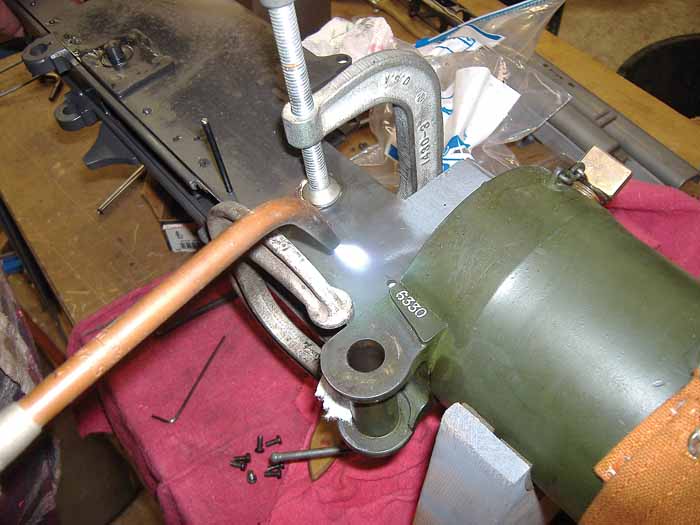
The jacket assembly is riveted and soldered to the receiver box. Please note that not all of the rivets are installed until after the trunnion has been prepped and soldered to the jacket assembly. Should a museum quality build be desired, the trunnion can be removed from the jacket and special bucking bars can be fabricated. For simplicity, four screws were installed on each side and the rest of the receiver was riveted. Several thousand rounds have been fired through Lonnie’s semi Vickers with no leaks. The remaining rivets can now be installed and the weapon is completely assembled minus the top cover.
The trigger bar is now modified and the disconnector/denial plate assembly (included in the kit) is ready to install. It is vital to ensure that the trigger reset every time before applying the final finish to the firearm and welding the plate into position. Make certain that the gun will mount securely in the tripod assembly before the final Parkerizing or hot bluing. Now set the spring tension to the fusee, add water, pack the barrel, and take the new semi auto Vickers out to the range for a firing session.
The semi kit that is available from Lonnie Ingram includes complete instructions, rivets, screws, disconnector/denial plate assembly, and the mill bits that are required to perform the project. Mr. Ingram will also modify the lock and action arms if the builder does not possess the means. A more detailed overview of the project is available at www.projectguns.com if desired. The author would also advise reading The Grand Old Lady of No Man’s Land by Dolf Goldsmith.
This is not a typical semi AK or 1919A4 build project. The author and his father invested over 50 hours in building each of their Vickers. It is not a particularly hard build, but it requires a great deal of patience and attention to detail. This is project is truly a labor of love that will provide a great deal of satisfaction. It may also lead to the need to acquire a vast amount of accessories and tools that have been made for the Vickers HMG.
The contact information for Lonnie Ingram and more detailed instructions and photos are available at Stan Szalkowski’s site www.projectguns.com Profiled right side plates with instructions for proper layout and measurements are available from several vendors on the www.1919a4.com site. A copy of the original approval letter is also available on that site.
Interested readers can also build a BATF approved semi 1910 Maxim, a semi MG42, or a PPSh41 that can be built as a SBR or as a title one firearm with a sixteen inch shroud.
| This article first appeared in Small Arms Review V12N11 (August 2009) |


